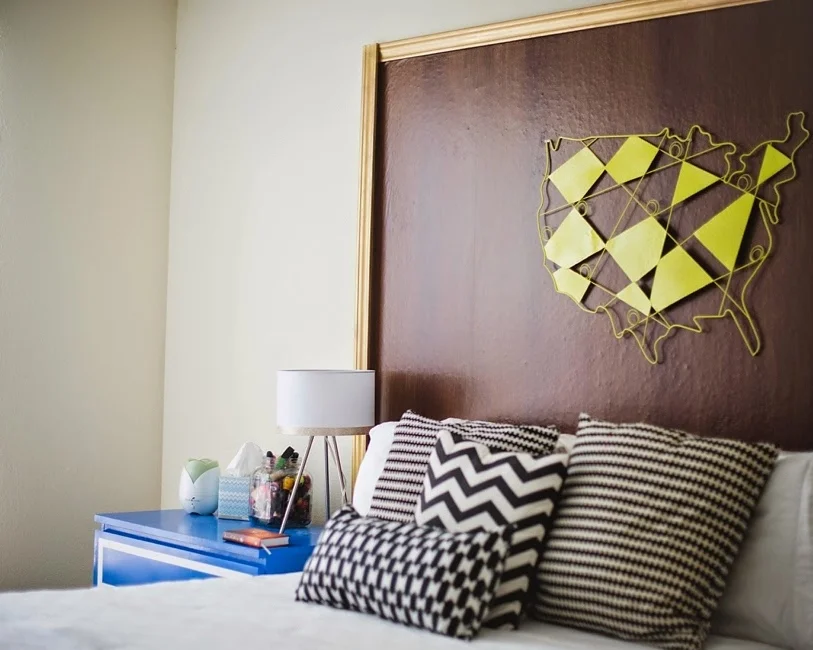
Fabric Wall Art
This weekend I photoshopped some options to choose from for decorating the space above our bed. I chose to go with the fabric wall piece for a few reasons. 1. It was my favorite. 2. It was the cheapest. 3. I had all the supplies (minus fabric). 4. It's easily changeable. 5. It's so simple. Here's how I did it and what I used:
[store-bought items] 2 foam boards (Dollar Tree: $2), 1 yard of BRITTEN NUMMER fabric (IKEA: $4.99) [household items] iron + ironing board, push pins, glue gun + glue sticks, white tape, nails + hammer

1. Iron that beautiful fabric. You don't want to have your wall art having a huge crease down the center.

2. Using a hot glue gun, glue the two pieces of foam board together, so your piece can be as long as your headboard.
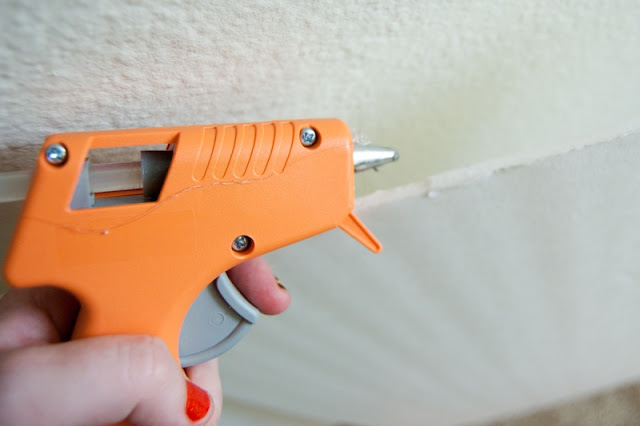
3. Use pushpins to reinforce the hot glue by diagonally pushing them through each board.

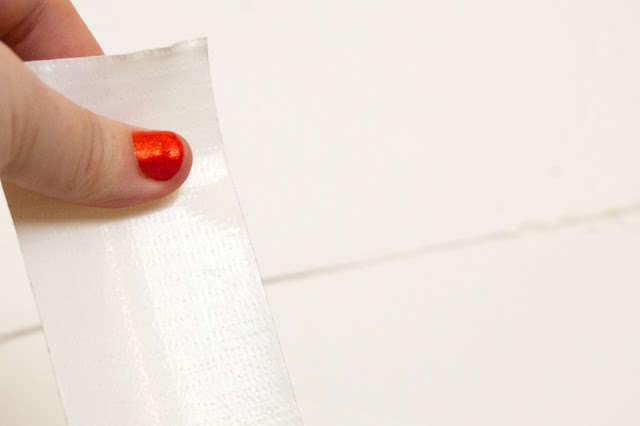
4. Just to add some extra reinforcements to make the piece sturdy, I used white duct tape across the hot glued area.
5. Start covering the foam board with the fabric by placing it where you want and using the push pins, to hold it, along the sides. Keep smoothing and pinning until the fabric is taunt and sleek. I used about about 25 pins for this process.

6. With the leftover fabric draped around back, I used tape to smooth it and keep it down.
It definitely won't look very pretty back there, but it doesn't matter...no one will ever see!

7. Lastly, I nailed the piece right onto the wall (after all that terrible leveling, of course!).
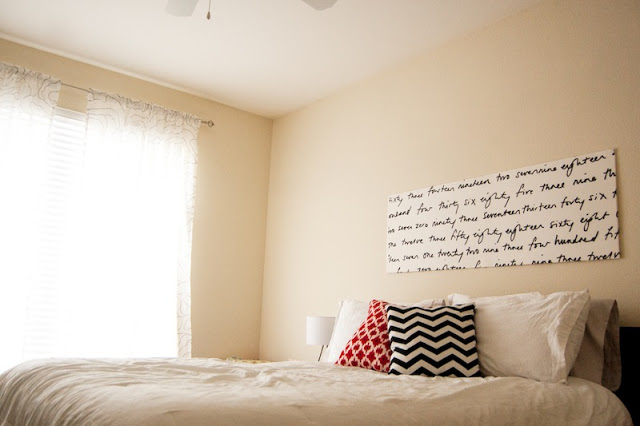


By pinning and taping (instead of sewing, gluing, etc), I have not permanently damaged the fabric in any way. One day down the road, if I want to replace it with another fabric and make a pillow or two from the BRITTEN NUMMER, I easily can. I love the way it turned out. Simple, modern, bright. Our bedroom definitely looks a little more complete....for $5 :)